
Building a website does not have to take days of coding or complex design work. You do not need to be a web designer to build a modern, professional website. With WordPress and a visual page builder, you can create a fully customised website in about an hour, no coding required. In this guide, you will learn how to design a WordPress website from start to finish in one hour, using simple tools, a ready-made template and intuitive customisation steps. By the end, you will have a website that’s live and ready to share with the world without any technical background required.
Step 1: Install and Activate a Starter Template (10–15 minutes)
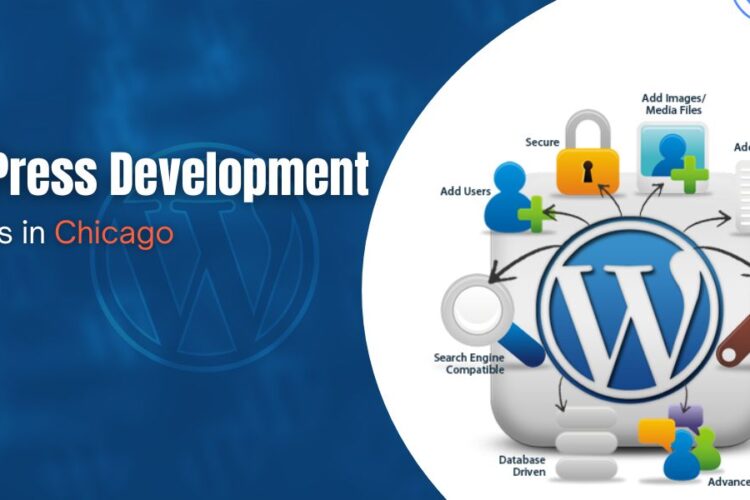
The fastest way to design a professional website is by using a starter template. These are pre-built website layouts that you can import and customise to fit your brand or purpose.
What is a Starter Template?
A starter template is a complete design package that includes:
- A homepage layout.
- About Services and Contact sections.
- Pre-set colors, fonts and images.
Instead of starting from a blank canvas, you get a ready-to-use design that saves you hours of setup work.
How to Import a Starter Template?
- In your WordPress Dashboard, go to Appearance → Themes → Add New.
- Search for a lightweight and flexible theme.
- Click Install, then Activate.
- Add a starter template importer plugin (usually recommended by your theme).
- Browse templates by category like business, personal, creative, portfolio, etc.
- Preview a few options, then import the one that fits your goal.
Once imported, your website will instantly have a complete design ready to edit. Remember to choose a layout with simple sections and clear typography. It’s easier to customise and loads faster.
Step 2: Customise Your Website Design (30–35 minutes)
This step revolves around transforming the template into your own design. You will use a visual page builder (like the built-in block editor or another drag-and-drop builder) so you can see your edits in real time.
Understanding the Page Builder Layout
Before editing, it better to understand how WordPress page builders work:
-
- Sections: Big building blocks such as the Hero, About or Contact areas.
- Columns: Divide a section into multiple areas for layout flexibility.
- Widgets/Elements: The content inside columns — text, images, buttons, etc.
- Tabs:
- Content: What appears on the page.
- Style: How it looks (colors, fonts, spacing).
- Advanced: Animations, padding and margins.
Once you understand these basics, you can confidently adjust any part of your page.
Step 2.1 — Edit the Hero Section (5–10 minutes)
The Hero Section is the first thing visitors see. It’s your homepage header with the main message.
- Replace the heading with your own title or tagline.
Example: “Helping Brands Grow Online” or “Your Dream Interior Starts Here.”
- Edit the subtitle or supporting text to describe what you offer.
- Change the background image or color to match your brand style.
- Customize the main button — update the text (for example, “Get Started”) and link it to your contact or service page.
Remember to keep your headline short and focused on your value or purpose. Simplicity makes a stronger impression.
Step 2.2 — Customize the About or Introduction Section (5–10 minutes)
This section tells visitors who you are or what your brand stands for.
- Replace the demo text with your personal or business story.
- Upload a professional photo or an image that represents your brand.
- Break your content into short paragraphs for better readability.
- Add a clear heading like “About Us,” “Who I Am,” or “Our Story.”
Remember to focus on how your experience, mission or service helps your visitors.
Step 2.3 — Update the Services or Features Section (10 minutes)
Your services or features section should clearly communicate what you offer.
- Edit each service box with your own title and short description.
- Replace any placeholder images to match your niche.
- Keep descriptions brief such as one or two lines per item.
- If you need more boxes, duplicate an existing one to maintain spacing consistency.
Remember to use consistent design with the same font sizes, colors and alignment for a professional appearance.
Step 2.4 – Edit the Contact Section (5 minutes)
Make it easy for visitors to reach you.
- Add or edit your contact form.
- Include a business email address, phone number or social media links.
- If you are a local business, include your location details if relevant.
- Update the button text (for example, “Send Message” or “Get in Touch”).
Remember to test your form after saving to make sure messages are delivered correctly.
Step 2.5 — Apply Global Design Settings (5 minutes)
Before finishing, refine your design’s overall appearance.
- Go to Global Settings or Customizer in your builder.
- Set your brand colors for headings, buttons and links.
- Choose two fonts, one for headings and one for body text.
- Adjust button shapes, hover effects and background colors.
- Preview your design on desktop, tablet and mobile views.
This ensures your entire site looks cohesive and visually balanced.
Step 3: Final Optimization and Preview (5–10 minutes)
Before hitting publish, perform a quick quality check.
Checklist:
- Review all text for typos and spacing issues.
- Verify that all buttons and links work correctly.
- Test your site on mobile and tablet screens.
- Adjust margins and alignment for a neat layout.
- Remove any unused demo pages or elements.
Optional Enhancements:
- Add a favicon (the small logo shown in browser tabs).
- Write a simple homepage meta description for search results.
- Optimise images for faster loading (try to keep them under 200KB each).
A few minutes of cleanup ensures your site looks polished and performs well.
Step 4: Publish Your Website
Now it’s time to go live.
Click Update or Publish, then open your website in a new browser tab to see the final result.
Congratulations! You have just completed a 1 hour WordPress website design from start to finish. Your website is live, fully customised and ready to share. Whether it’s a personal blog, a business site or an online portfolio, you now have a strong foundation to build on.
In a Nutshell
Creating a professional-looking website does not require days of work or technical expertise. With WordPress, starter templates and a visual editor, you can achieve an impressive design in under an hour.
This 1 hour WordPress website design start to finish guide has shown you how to:
- Import a ready-made template.
- Customise each section with your own content.
- Refine global styles and publish your site confidently.
From here, you can keep improving your website. Add a blog, create an online store or experiment with new design elements. The key is to start simple, stay consistent and keep learning. Every great website begins with a solid first version and you have just created yours.